Oh boy, strap yourselves in, Trailblazers! Welcome to the wildest, wackiest, and most wallet-fattening corner of the Astral Express's itinerary: Penacony's Reverie (Dreamscape). This ain't your grandma's hotel lobby; it's a sprawling, gravity-defying, puzzle-infested dreamscape that's practically begging to be looted. As of 2026, this place is still the undisputed heavyweight champion of hiding shiny things. Stellar Jades? Check. Credits? You bet. Relics that'll make your characters weep with joy? Absolutely. But here's the kicker—these treasures don't just sit there looking pretty. Some are guarded by grumpy Dreamjolt Troupe members, others are locked behind brain-tickling puzzles, and a few... well, a few require you to have a serious chat with a very aggressive trash can. Yep, you heard that right. So, grab your map and your sense of adventure, because we're diving deep into every nook, cranny, and floating hallway this dream has to offer. Let's get this treasure party started! 🎉
The Grand Tour: Floor by Floor Breakdown
Navigating Reverie (Dreamscape) can feel like trying to solve a Rubik's Cube while riding a rollercoaster. But fear not! We've broken down this labyrinth into bite-sized, treasure-filled pieces.
Floor One: The Compact Connector
Think of F1 as the cozy, albeit slightly confusing, foyer of this dreamy madness.
-
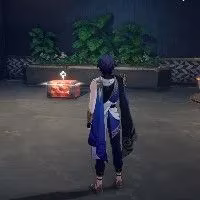
Centre Section: This is the tiny hallway that connects everything. Don't blink, or you'll miss it! To get here, you gotta take a scenic ride from the left part of F3 up an elevator.
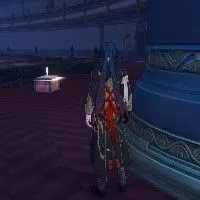
- Treasure Chest #1: Playing a sneaky game of hide-and-seek behind the Space Anchor on the far right. It's like it's too shy to say hello!

- Treasure Chest #2: Just kicking back to the right of some circular couches. Probably waiting for someone to sit down for a chat.

-
Left Section: A quick hop to the left side of the map.
- Treasure Chest #3: The lone wolf of F1, chilling in the leftmost room. It gets a bit lonely down there.

Floor Two: The Short but Sweet Stop
F2 is a breeze, but it packs a playful punch with a classic Penacony mechanic.
-
Treasure Chest #4: Hanging out at the bottom of the staircases that lead up to this floor. A nice welcome gift!
-
Treasure Chest #5: Now this one's a character! It's perched at the top of a bookcase, looking down on everyone. To reach this lofty loot, you must find the nearby Hanu's Adventures TV and shrink down to pint-sized hero mode. Talk about a perspective shift!
Floor Three: The Main Event (Right, Centre, & Left)
This is where the real party is at. F3 is massive, split into three distinct zones, each with its own personality.
Right Section: The "chill" side of F3. Fewer mazes, more straightforward looting with six chests up for grabs.
| Chest # | Location Description | What's the Vibe? |
|---|---|---|
| 6 | At the end of the hall with the guest rooms. | The classic "end of the hallway" special. |
| 7 | Next to the staircase. | Keeping the stairs company. |
| 8 | Behind the moving hallway on the ceiling. (Use the Bubble Bridge!) | A ceiling hugger. Watch your head! |
| 9 | On the floor, floating beside a floating table. | Meta. |
| 10 | On the wall, surrounded by enemies. (Bubble Bridge trick needed!) | The popular kid, guarded by its entourage. |
| 11 | Next to the Cavern of Corrosion. The moving hallway is an illusion! | A master of deception. Just walk forward! |
| 12 | In the hallway next to Chest #11, guarded by a robot T-Rex chef. | Comes with a side of danger. Bon appétit! |
Centre Section: Flanking the F1 centre, accessed via elevators. Symmetrical and simple.
-
Treasure Chest #13: Lounging near the right elevator.

-
Treasure Chest #14: Hiding behind the left elevator. A bit of an introvert.
Left Section: Hold onto your hats! This is the beast—a puzzle-box paradise with a whopping twelve chests. Every corner has a secret.
Here’s a quick-hit list of the chaos:
-
#15: Behind the Dreamjolt Hostelry Space Anchor. The classic ambush.
-
#16: Between two dividers near the bar. Perfect for a secret toast.
-
#17 & #18: Down the stairs, guarded by enemies. A two-for-one special!
-
#19: Across from a large floating table display. For the aesthetically inclined looter.
-
#20: Between a pillar and a drum kit. Got rhythm?
-
#21: Underneath a window balcony on the wall. Spider-Trailblazer, is that you?
-
#22: On the ceiling, reachable from Chest #21's wall. The sequel!
-
#23: Outside the Stagnant Shadow room. A tense pre-boss snack.
-
#24: On the top balcony of a large room. For those who like the high life.
-
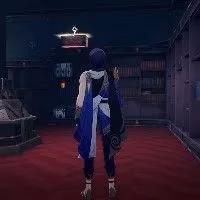
#25: Nestled between bookcases on a wall. The scholarly treasure.
-
#26: Under another balcony on a wall. They really like balconies here.
-
#27: Inside a makeshift hallway within the wall. This one's a full-blown platforming challenge requiring multiple Bubble Bridge jumps. Phew!
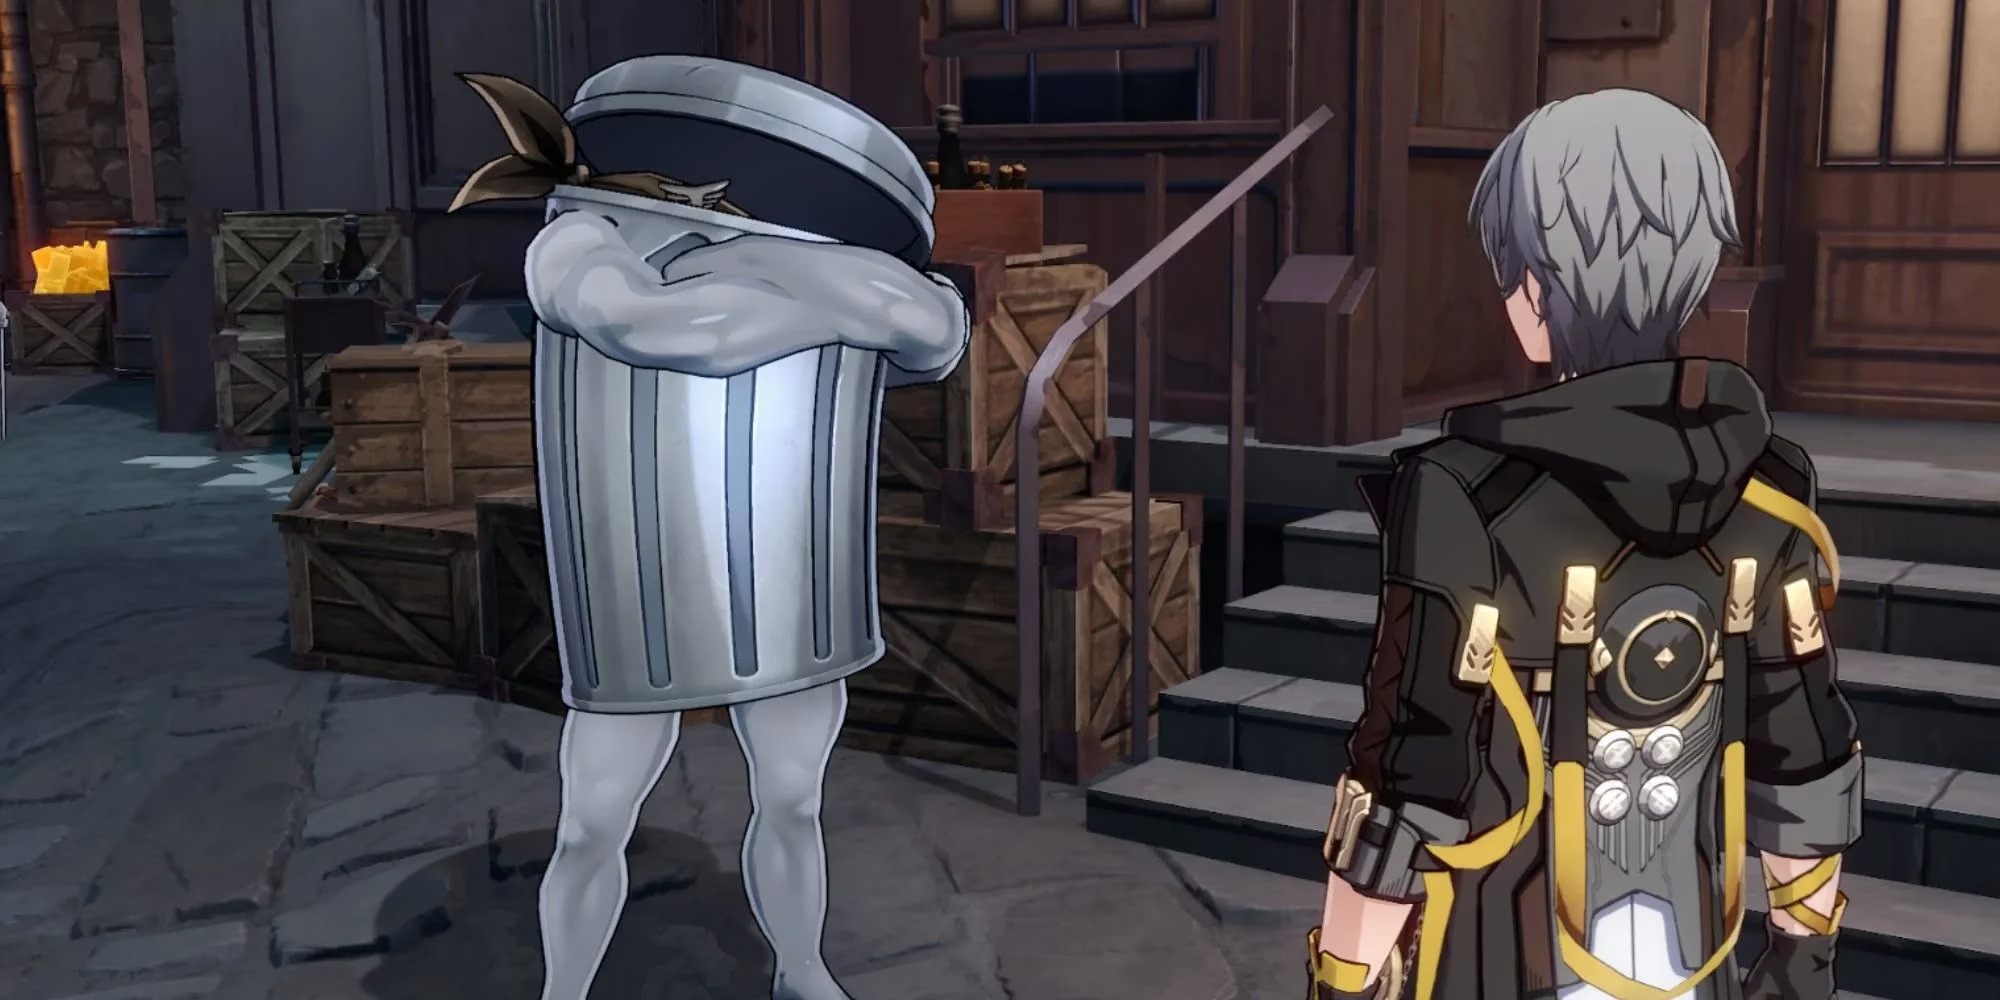
The Royal (and Hostile) Trashcans
No Penacony guide is complete without mentioning the... ahem... noble residents. The Lordly Trashcans. They're not treasures, but interacting with them is a rite of passage. Consider them bonus bosses with attitude.
| Trashcan # | Floor | Location | Friendly Warning |
|---|---|---|---|
| 1 | Three | Behind the right elevator on F3. | This one might just want to chat. Might. |
| 2 | Two | On a staircase landing. | WARNING: This trashcan has anger management issues. It will attack on sight! Talk about taking out the trash... |
And there you have it! The complete, unabridged, slightly exaggerated tour of Reverie (Dreamscape)'s glittering hoard. From floors one to three, from left to right, from simple chests to sentient garbage—this dream has it all. So what are you waiting for? The Astral Express won't fuel itself with wishes. Get out there and turn those dreams into Stellar Jades! Just... maybe bring a shield for that second trashcan. Seriously.