I still remember the exact moment Asta handed me that first Star Rail Pass. The bright, cosmic interface unfolded before me, and I suddenly understood why so many of my friends had talked about the thrill of the warp system. Over the years, I’ve pulled on hundreds of banners, celebrated early five‑stars, and cursed the 50/50 losses. By 2026, Honkai: Star Rail has added layers of nuance to its gacha, but the core of how warps work remains the foundation every Trailblazer needs to master. Let me walk you through each banner type and share everything I’ve learned—so you can spend your Stellar Jades wisely.
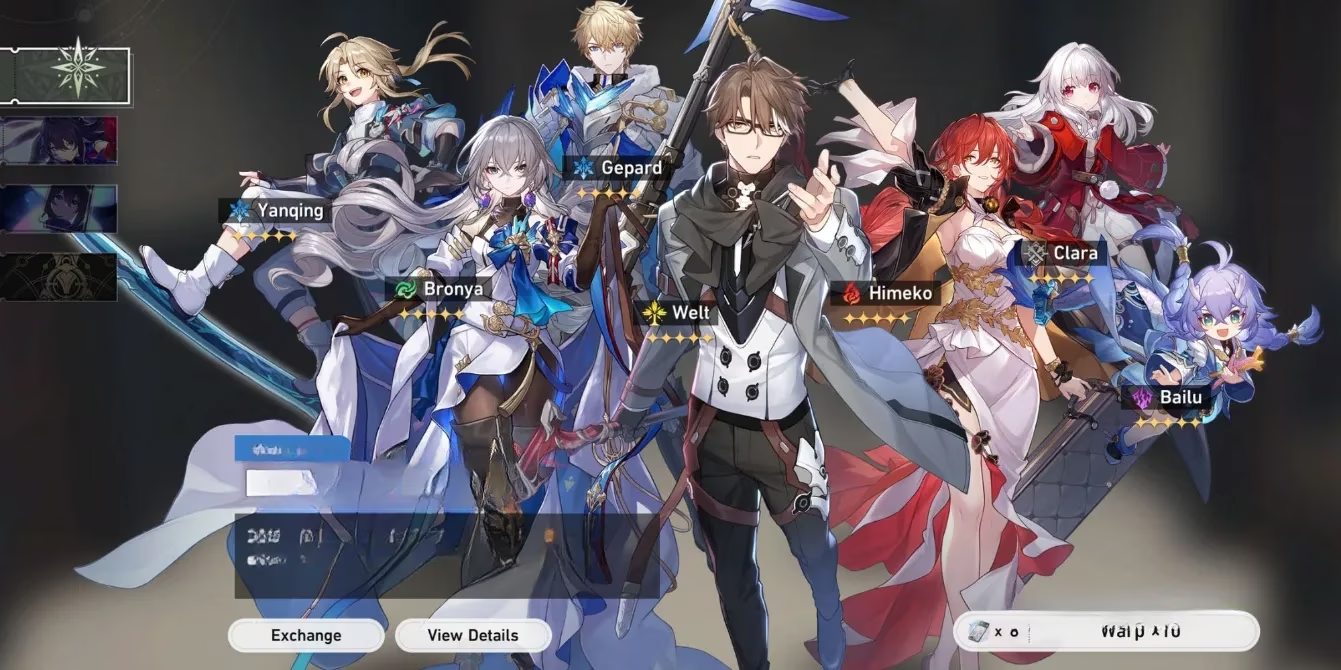
When you first unlock the warp system, a Departure Warp banner appears specifically for new players. I always advise beginners to pull on this one immediately because it gives a generous 20% discount on every ten‑pull—meaning an eight‑ticket cost instead of ten. You can perform up to 50 warps here, and the banner permanently disappears after that. During those 50 pulls, you’re guaranteed a five‑star character from the standard roster on the very last warp. I’ve seen friends get Welt, Himeko, or my personal favorite, Bronya, right at the final warp, which sets them up beautifully for the rest of the game. Every ten‑pull also guarantees at least one four‑star character or Light Cone. The Departure Warp uses standard Star Rail Passes, so you never have to dip into your limited Special Passes. In my playthroughs, I always topped up this banner as soon as I earned enough jades—it’s simply the most efficient way to start building a team.
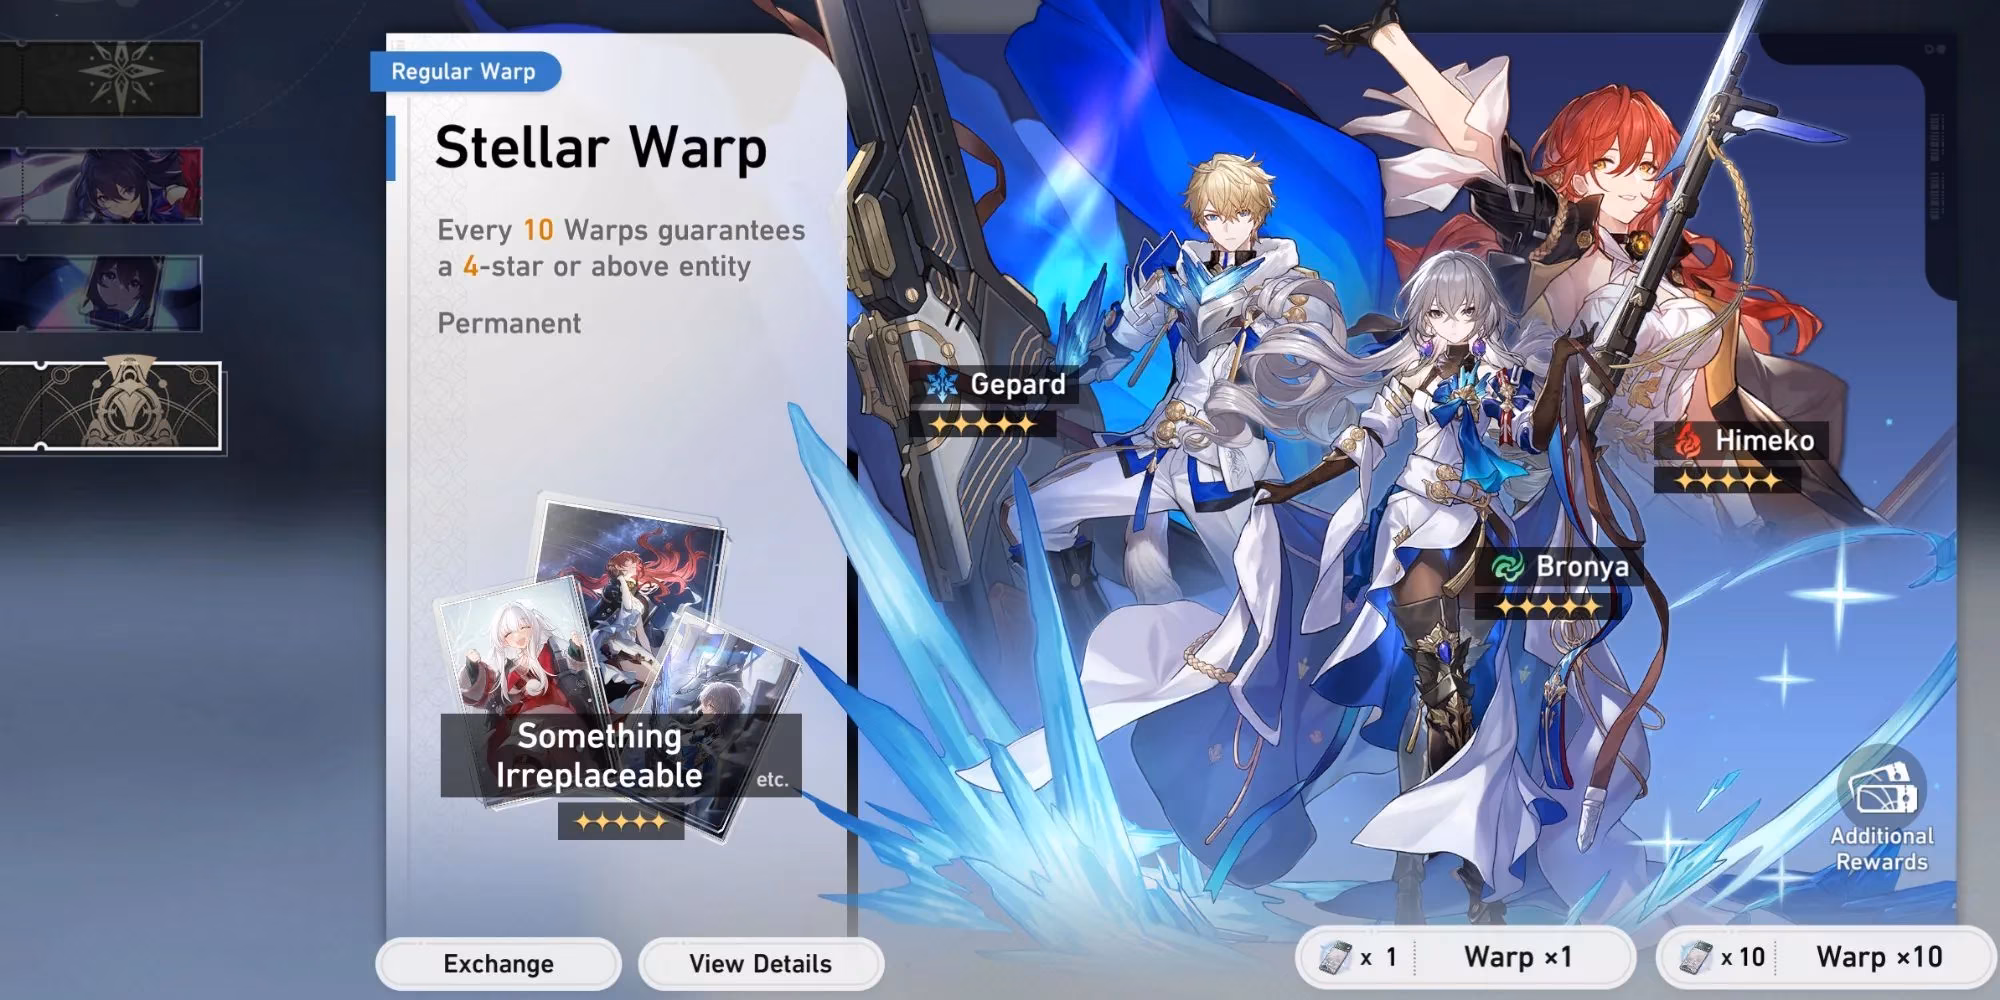
Once the Departure Warp vanishes, the permanent Stellar Warp takes its place as the standard banner. This one feels like a long‑term project. It pools together the same standard five‑star characters you saw in the Departure Warp, but now it also includes seven five‑star Light Cones. Because there’s no guarantee to get a character when the five‑star spark occurs, I’ve gone multiple rotations hitting only Light Cones before finally pulling a character I wanted. The hard pity here is set at 90 warps, which feels slightly harsher than the limited banners. However, the real gem for me is the “Additional Rewards” system: after accumulating 300 total pulls on the Stellar Warp, you can freely choose any standard five‑star character from the pool. I held onto my free choice for months until I needed that critical Gepard to complete my sustain roster. Even though you shouldn’t actively spend Special Passes here, the natural flow of free tickets from quests and the monthly shop makes the Stellar Warp a slow but rewarding side activity.

The heartbeat of the warp system is the Character Event Warp. These banners feature one limited five‑star character—often accompanied by boosted four‑star units—and each cycle typically lasts three weeks. In 2026, double banners have become common, running two limited characters simultaneously. What fascinated me when I first learned the mechanics is that the pity counter and the 50/50 guarantee are shared between all concurrent event banners. If you do 50 warps on one character’s banner and it ends, you carry those 50 pity straight into the next event. The first time you reach a five‑star, there’s a 50% chance it will be the featured character; if you “lose” the 50/50, the next five‑star is absolutely guaranteed to be the featured one. I never forget the sting of pulling an early Yanqing instead of the new limited unit, but the silver lining was that my next five‑star came home without fail. Hard pity sits at 90, but soft pity usually kicks in around 75 warps. Because of the shared pity, I often use a strategy of building up pity on a banner with four‑stars I need, then stopping before hitting the five‑star if the featured unit doesn’t excite me. The key here is patience: it’s incredibly tempting to spend jades on every new face, but I’ve learned to save until I have enough for a full guarantee—around 180 warps—whenever I absolutely must own a specific character.
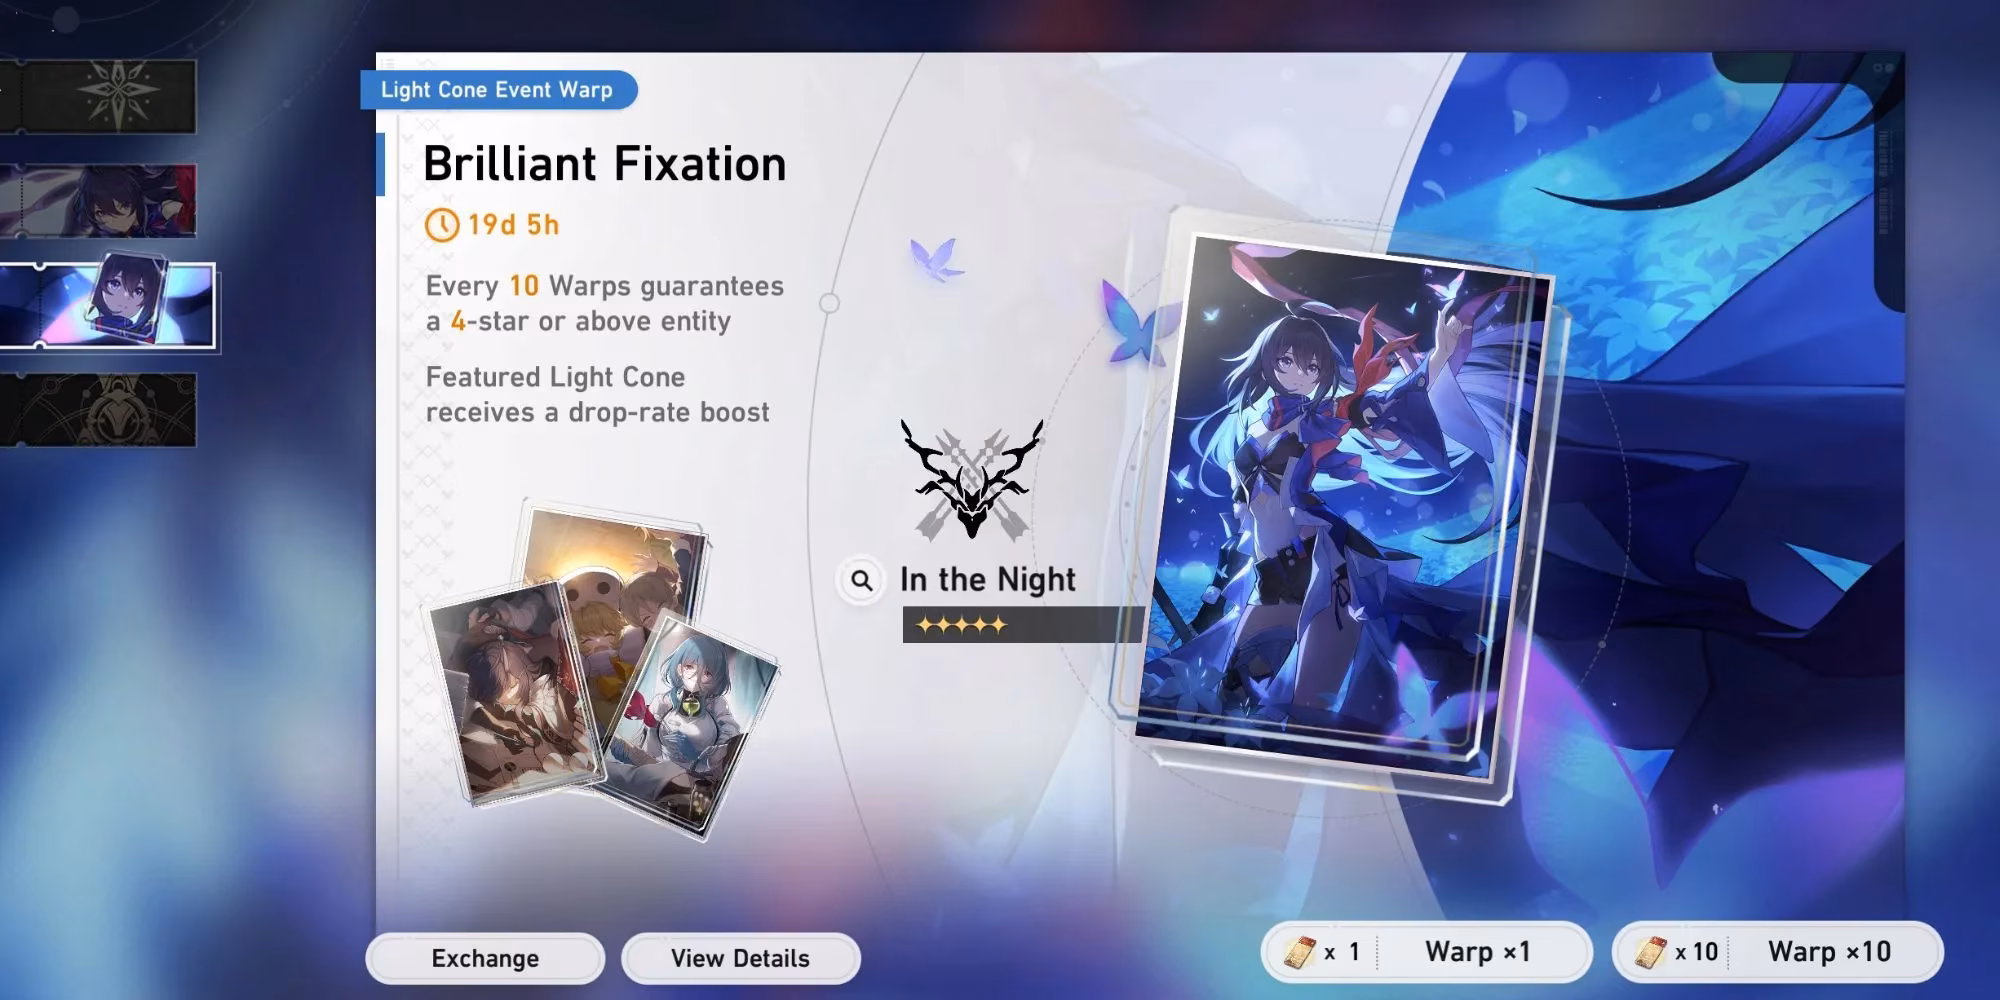
Finally, the Light Cone Event Warp offers the signature weapon of the featured character. I used to avoid this banner entirely as a free‑to‑play player because characters provide more tactical variety than Light Cones. The stats, however, are kinder than the character banner: base five‑star rate is 0.800% instead of 0.600%, and hard pity drops to 80 warps with soft pity starting around 65. The first five‑star you pull has a 75% chance to be the featured Light Cone; if you miss, the next one is guaranteed. Pity also shares across different Light Cone Event Warps. Even with these improved odds, I always recommend securing a solid roster of characters across different elements and paths first. Honkai: Star Rail’s weakness‑break system punishes one‑team strategies hard in late‑game modes like Memory of Chaos and the new 2026 expansions. I’ve watched players pour everything into a single super‑DPS only to struggle when the element matchup shifts. Once you have two or three versatile carries and a few strong sustains, then the Light Cone banner becomes a powerful tool to sharpen your favorites.
I’ve seen the warp system evolve, but its fundamental rhythm hasn’t changed: manage your jades, understand shared pity, and never pull impulsively. The Departure Warp kick‑starts your journey, the Stellar Warp rewards patience, and the limited banners promise the stars you really want. Whether you’re a new Trailblazer or a returning one, I hope these insights help you turn every warp into a meaningful step toward the team of your dreams.